Does microneedling at home help acne scarring?
How to do it safely to diminish acne scars?
Are professional treatments superior? What may be the drawbacks, compared to a properly executed at home treatment?
I will try to answer those questions and help you make the best out of your microneedling sessions at home!
Research on microneedling is generally very convincing
A recent review of 33 peer-reviewed studies strongly supports using microneedling as a therapy to treat acne scars (source). Microneedling also appears to be safe and effective on dark skin (source).
Also known as collagen induction therapy, microneedling creates microscopic injuries in the skin by pressing tiny sterile needles onto the skin surface.
This gives a signal to the skin to increase the synthesis of growth cytokines and collagen and elastin deposition into the “injured” area. This results in filling up and smoothening acne scar tissue.
These changes can effectively diminish the appearance of scars over time (3-4 months at least are needed to see a lasting change).
The case for at-home microneedling treatment
I have often read on social media that “microneedling at home is a big no-no”, that you can “hurt yourself”, and that it “isn't effective”.
Let's get into that a little deeper.
It is true that using microneedling devices with longer needles (1.0mm or longer) can result in injury and irritation, especially when not used properly. If using a needle of that size, you would first need to start with smaller needles and be very certain that you can “upgrade” before you do.
Personally, I would not use anything longer than 1.0mm at home, only at a professional treatment (after using shorter needles at home for a while).
Actually, best to keep it under 1.0mm for treatment at home, especially if you are new to microneedling!
When using a good device with shorter needles, like 0.3mm or 0.5mm, and clear instructions, the chances of injury are really very minimal.
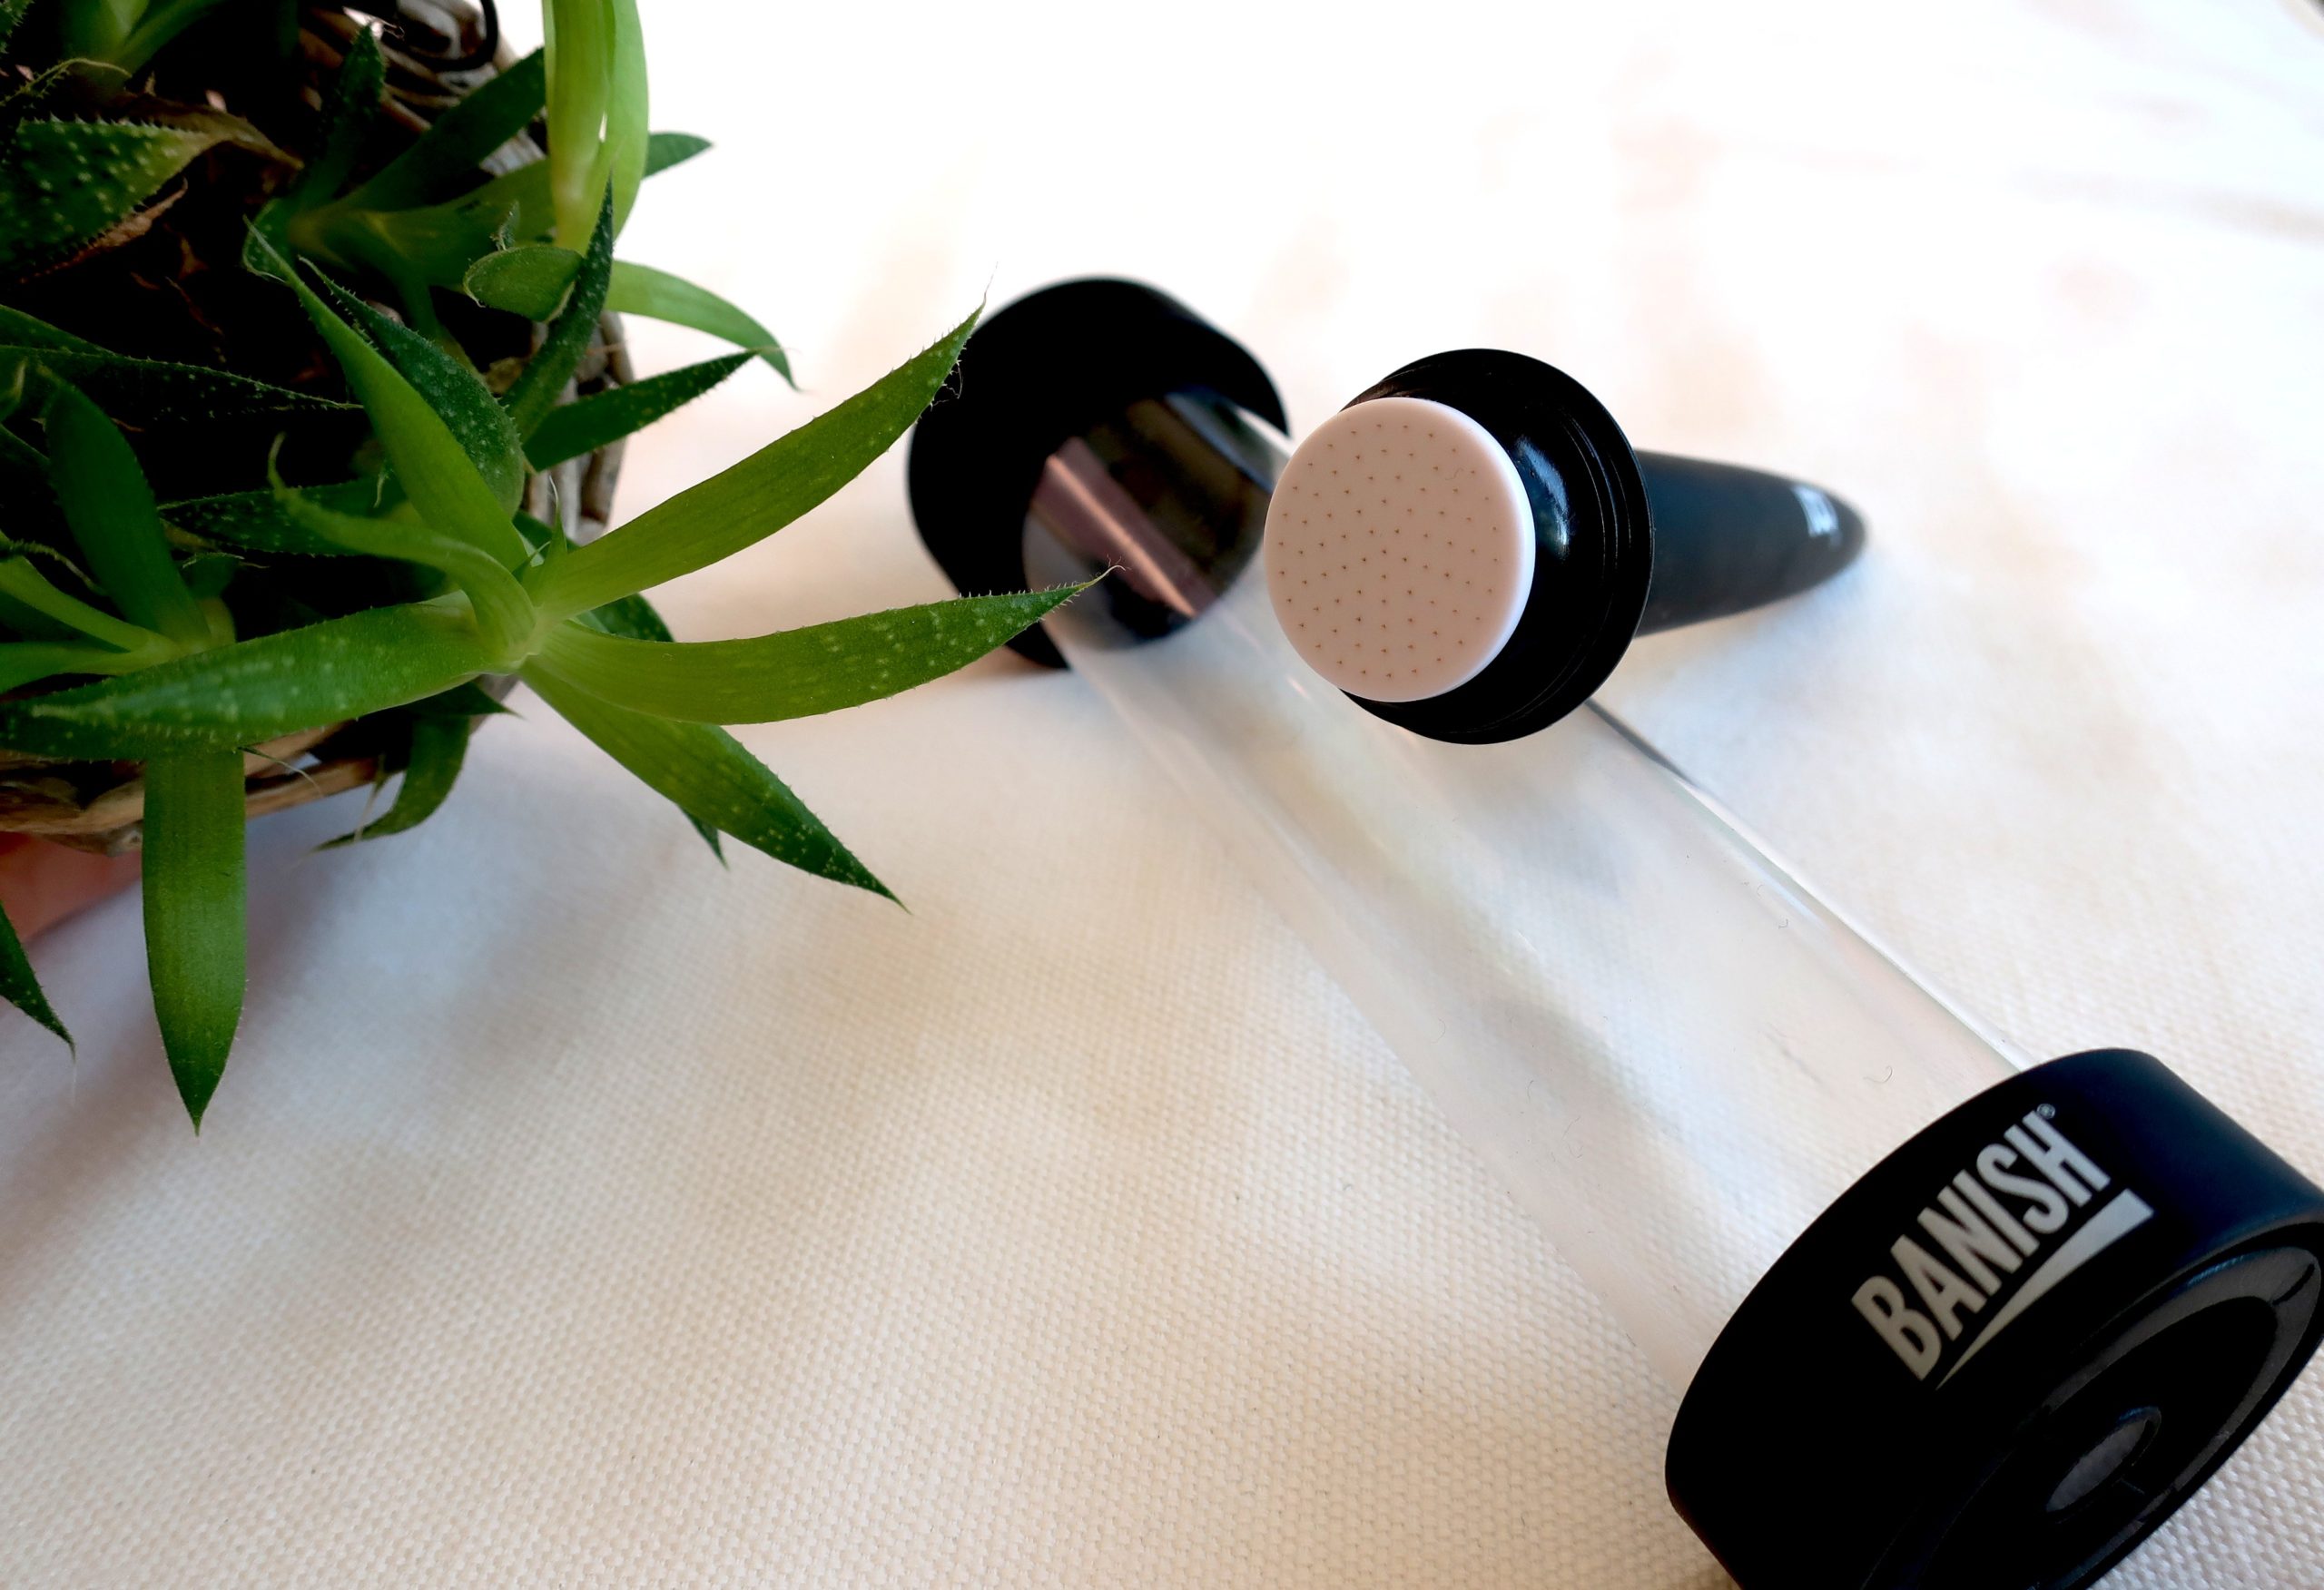
The Banisher 2.0 microneedles’ length is 0.5 mm, so they don't reach the dermis layer, which contains nerves and blood vessels. Therefore, the Banisher 2.0 microneedling tool won’t cause pain or bleeding.
Spending thousands of dollars on professional treatments right off the bat just isn't an option for many people. So, why not have an affordable alternative?
Why discourage people from a treatment that can have dramatic changes on their skin and confidence?
Why is a professional treatment touted as “more effective”?
Professional treatments are more effective precisely because they are more invasive (using longer needles). So, if you have sensitive skin, how do you know your skin will be able to tolerate it?
Yes, a professional will know better what and how to do the treatment, but the key here is that the needles are generally considerably longer. This is largely the reason why such treatment is more “effective”. Clearly, this comes with more potential side effects, especially for sensitive skin.
So, why not start with a smaller needle size at home and an affordable device (that can still provide you with immense benefits)?
This way, you can see how your skin responds to a gentle microneedling treatment (without spending $$$) before moving onto something more invasive.
The key is to know exactly what to do and use a trusted device that thousands of people are using successfully, like Banisher 2.0.
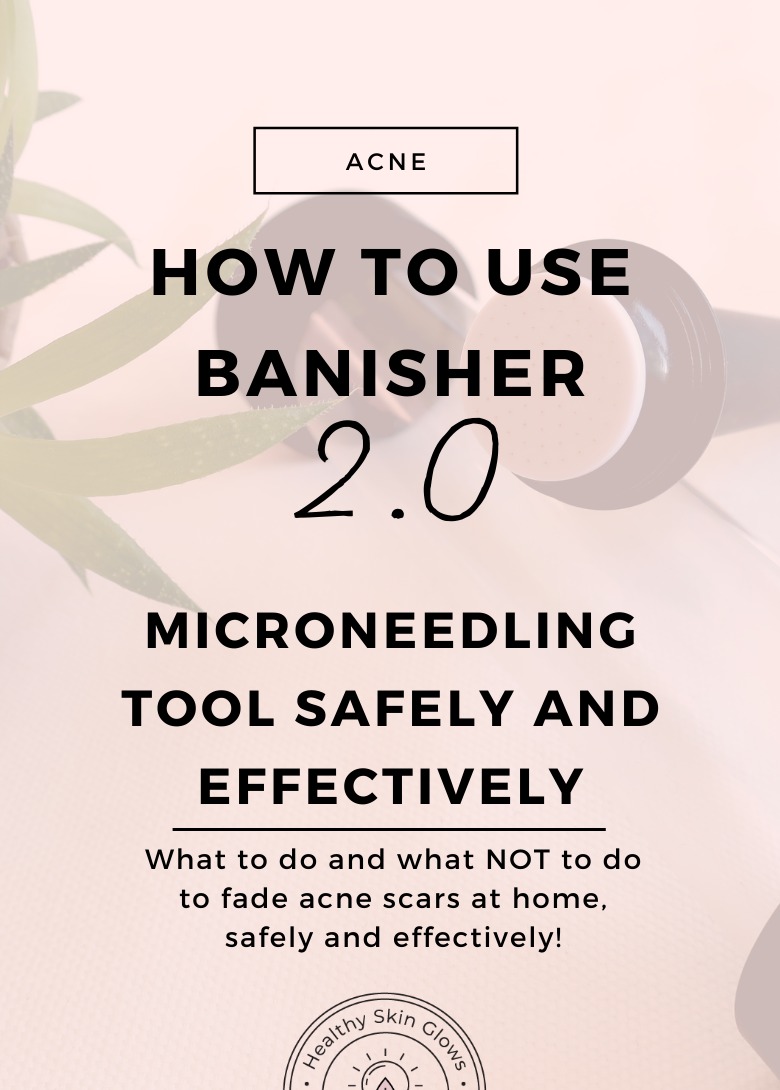
How to use the Banisher 2.0 microneedling tool
- Sterilize your Banisher 2.0 device in rubbing alcohol (or an appropriate sterilizing solution) for about 5 minutes (needles must be immersed fully), then rinse it off briefly
- Let the Banisher air dry for 2 to 3 minutes (you can also use a CLEAN towel to gently pat it dry)
- While your tool is sterilizing, wash your face, removing all traces of makeup
- Using light and even pressure, press the Banisher 4 to 5 times on each area you want to treat, making sure to avoid pricking active acne.
- Rotate the Banisher slightly (about 90 degrees) whenever you lift it up and press gently down again
- When you are done, sterilize the Banisher again (I like to put it into soapy water for 10-15min before doing the sterilizing step) and let it dry before packing it up
- Finish your skincare routine. I like to use a few drops of Banish Oil (see more tips on it in my blog post), which will help boost collagen production in the treated area, enhancing the effectiveness of your treatment
- If you feel the need to moisturize, use a gentle moisturizer without potential irritants like essential oils, very heavy, comedogenic oils, etc. You can also skip treatments like vitamin C and just lightly moisturize, especially if you are just starting out!
When you order Banisher 2.0 and other Banish products, you will also receive a booklet with exact instructions on how to use each.
What should you avoid after microneedling?
For the following 12-18 hours (as research indicates the small punctures close within 18 hours), try to avoid:
- Direct exposure to the sun (wear your SPF and preferably a hat too)
- Wearing makeup
- Touching your face, especially the treated area
- “Active” ingredients like retinoids and exfoliants (vitamin C formulas are generally fine and actually beneficial in boosting collagen production after microneedling)
- Sweating and heat (like saunas)
Who should NOT use a microneedling device?
People who have:
- Active acne (inflamed or just comedones, as they can become inflamed)
- Inflammatory skin conditions like rosacea or perioral dermatitis
- Rashes
- Active infection
- Open wounds or cuts on the skin
- Keloid scarring (hypertrophic scars/poor wound healing)
Your skin needs to be in a good shape overall to be able to fully heal after the microneeling sessions. This way you will reap maximum benefits without any side effects!
Related: My top tips for dry and dehydrated skin (also helps with skin barrier repair!)
How often to microneedle at home?
When you first start using your Banisher 2.0 tool, it is a good idea to give more than plenty of time for skin recovery in between treatments. Two weeks should be enough for most. After a while, using it weekly can also be fine. If you are using longer needles, you probably need more time in between, like 3 weeks.
Related: How to treat acne scars naturally at home
What is more important is that you use it consistently. This is when you will see the best and fastest results.
Any questions? Let me know in the comments!
If you decide to go for any of the Banish products, use code HEALTHYSKINGLOWS (affiliate), it will give you 5$ off orders 50$ or more.
P.S. Some of the above links are affiliate links. Thank you for your support!
Are you in your 20s or 30s, and tired of still struggling with acne and breakouts? There is so much misinformation about the right skincare for getting clear skin, and caring for sensitive acne-prone skin. This is why I made a FREE online course where you will find little-known skin-healing secrets you won't usually hear from the skincare industry or dermatologists. And yet, they WORK.
Sign up (and get instant access!) here:

I’ve always wanted to try microneedling, thanks for the info! You talk a lot about how it’s important to not damage the skin’s protective barrier in your other blogs. Is microneedling less damaging in that sense than exfoliating?
Good question! This will poke little holes in the skin so in that sense damages the skin barrier, more so than gentle exfoliation. Still, benefits can outweigh this downside when we support skin barrier regeneration otherwise: Good skincare, diet, sleep, etc:)
I know this is made primarily for acne scars, but would it help with skin elasticity and fine lines overall? Or would it be too intense?
And how close to the under-eye area would be ok to use this? I wouldn’t use it directly under my eyes, but I have fine lines that go down past my cheekbone that I would like to try it on.
Yes, microneedling definitely helps with fine lines and wrinkles:)) About the eye area, hm, I would not go too close. the skin there is quite thin so this may not be good to do too often. You could go over broader eye area 1x every month or so if you see it is going well for you:))
I have some uneven skin on the side of my nose due to acne. Do you think it works or just on large flat surfaces?